
ASSIGNMENT
For this assignment we had to design and fabricate a modular reconfigurable system or seamless garments. The soft connection can be designed to be implemented in the assembly of a garment, being applied on the seams or it can be designed as single elements that act as construction parts of a garment.
INSPIRATION
For this assignment, I started my inspiration gathering by digging a deep rabbit hole inside the depths of the Internet and Pinterest, looking at examples of seamless patterns and ending in a lot of interesting directions. You can find my Pinterest board by clicking on Seamless Patterns.
My dominant inspiration was driven by “gelosie, or celosias”, the intricately designed windows that come from traditional Moorish architecture, famous for their geometric designs. Triangles and stars are dominant visual elements in these windows, and their modular repeatability has a magical effect on my inspiration.
Another geometric shape I have strong affinity for is the hexagon, with its honeycomb structure reminding of the bees and their cooperative nature. Also the hexagon enables a variety of ways to play with sub-modules within it, which is really cool.

OBJECTIVES & PLAN
The objective is to design 1 or 2 different seamless patterns, laser cut them and experiment with their size, interlocks and material.
- Design the patterns - With Rhino, a 2D modeling CAD program, which I am familiar with and has a great level of precision for geometric drawing
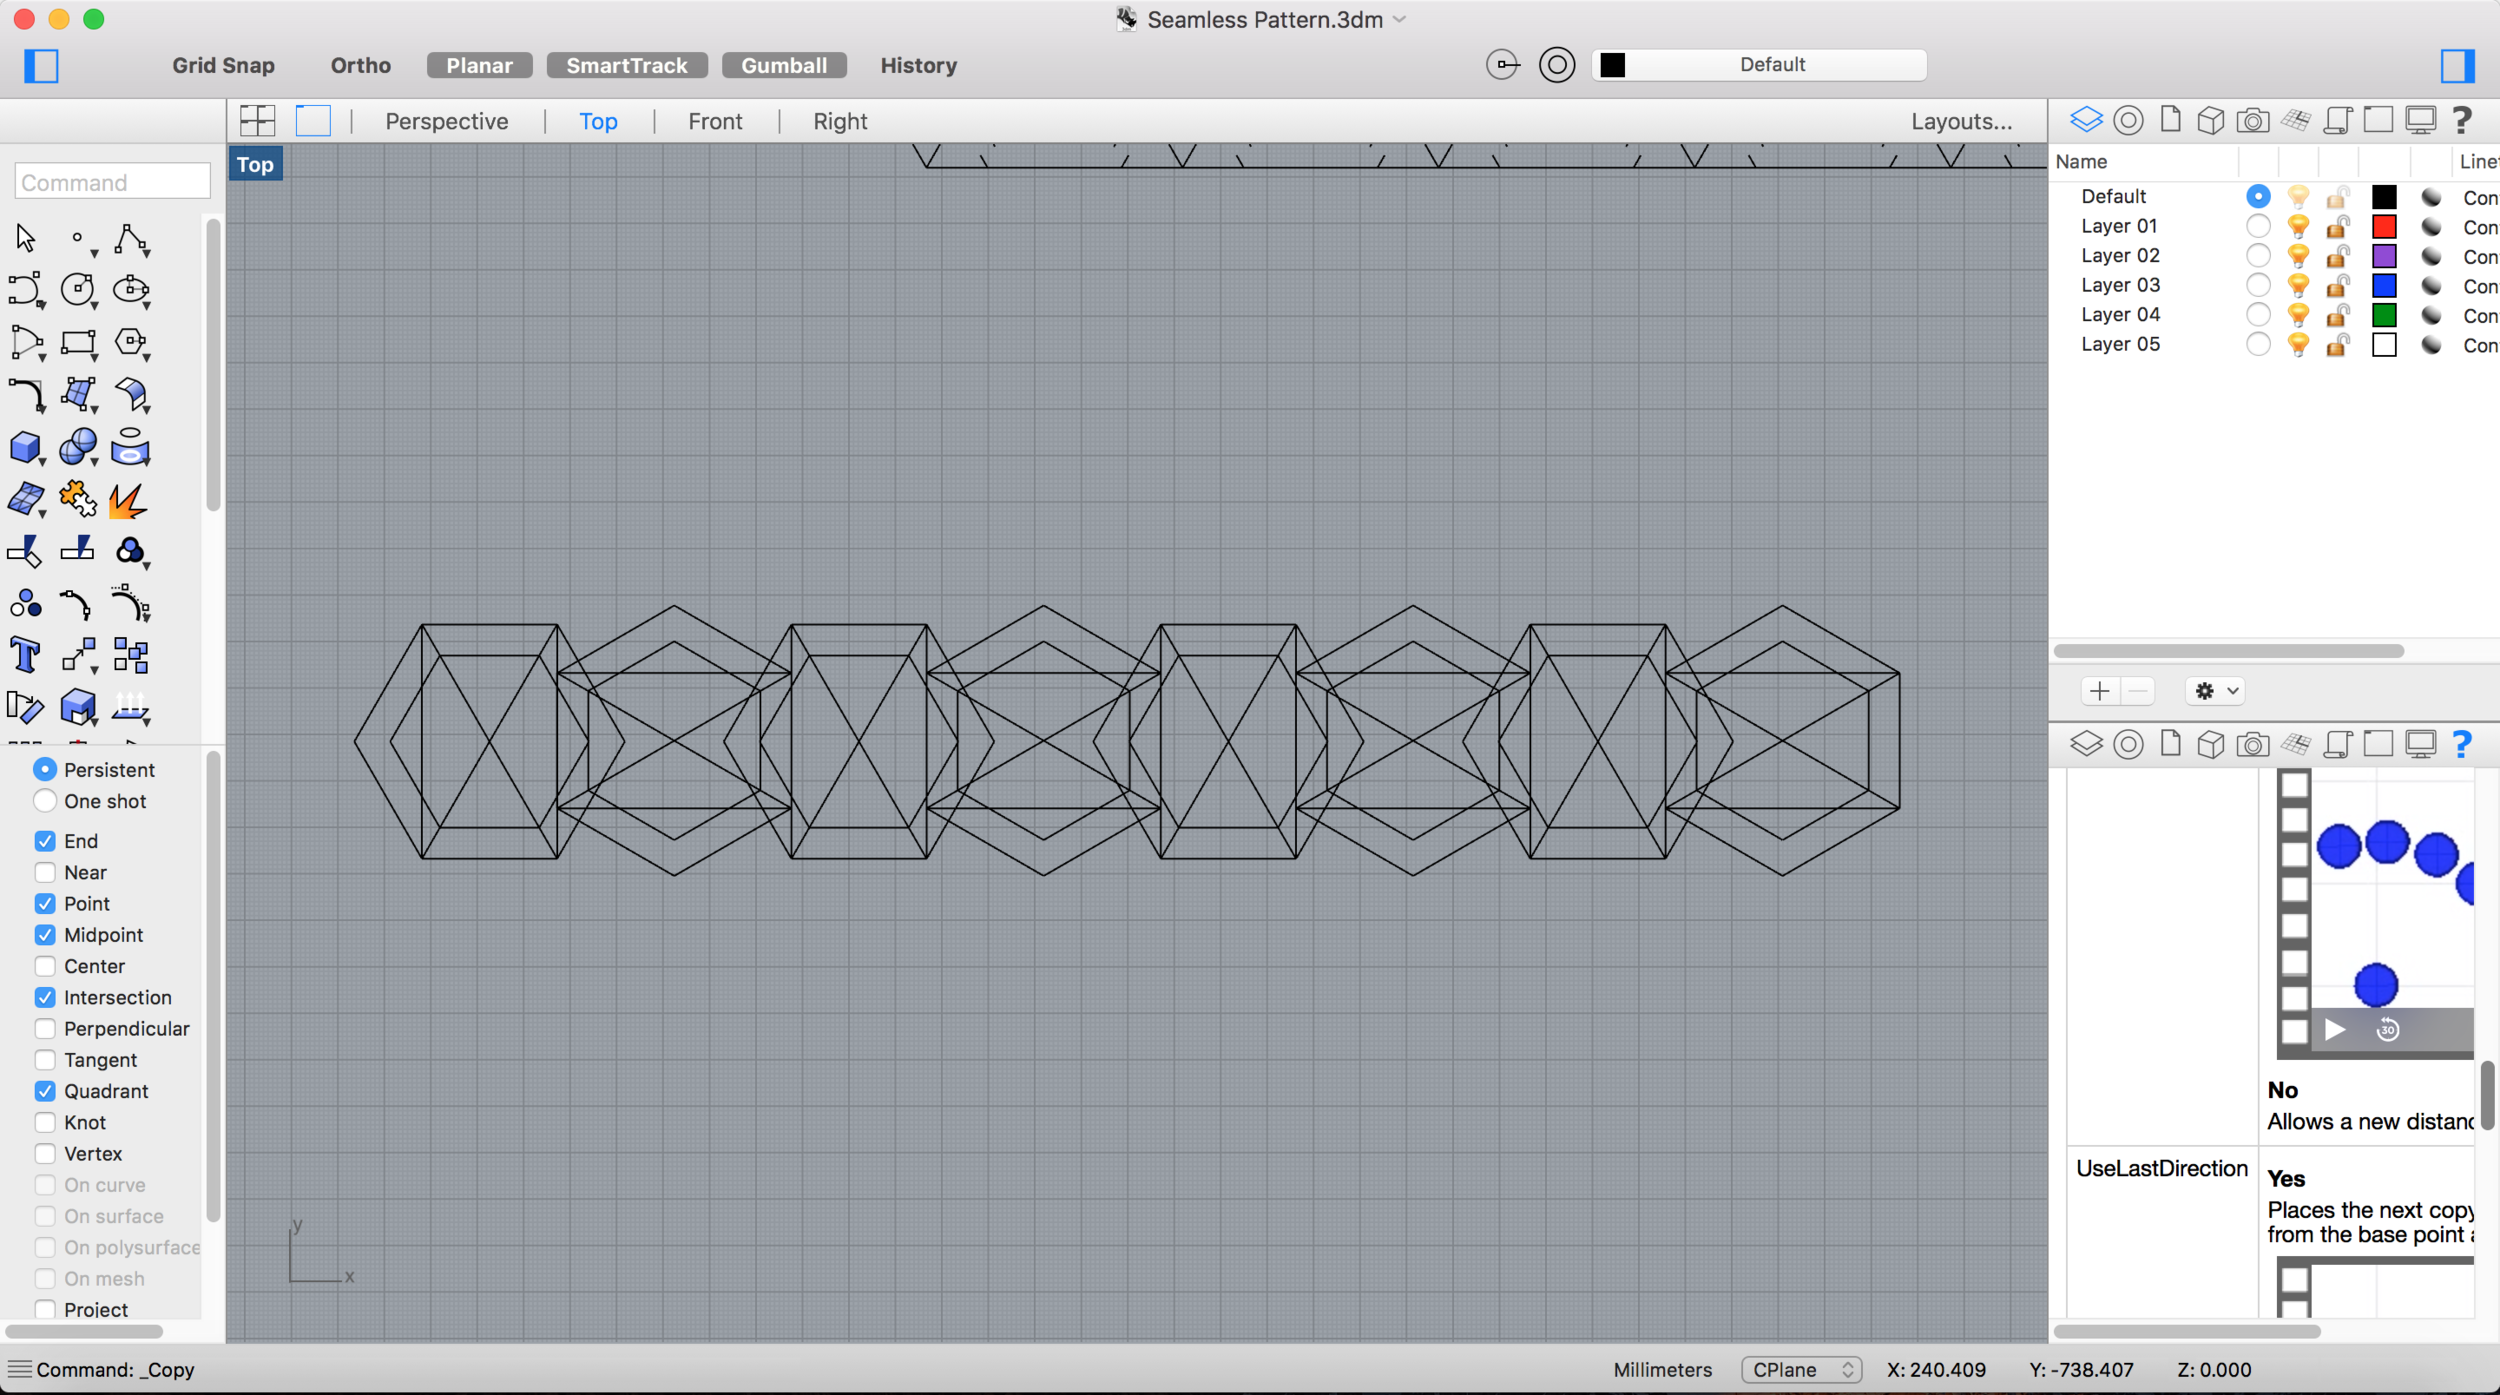
- Prepare .dxf file for laser cut - Still with Rhino, make sure to optimize the material by placing the pieces of the pattern in a clever space saving way
- Laser cut the patterns - With the xxx laser cut at Fablab Yucatan. which has a laser cut area of 90 cm x 60 cm
- Make a garment or accessory with the patterns

Triangular pattern
Iteration 1
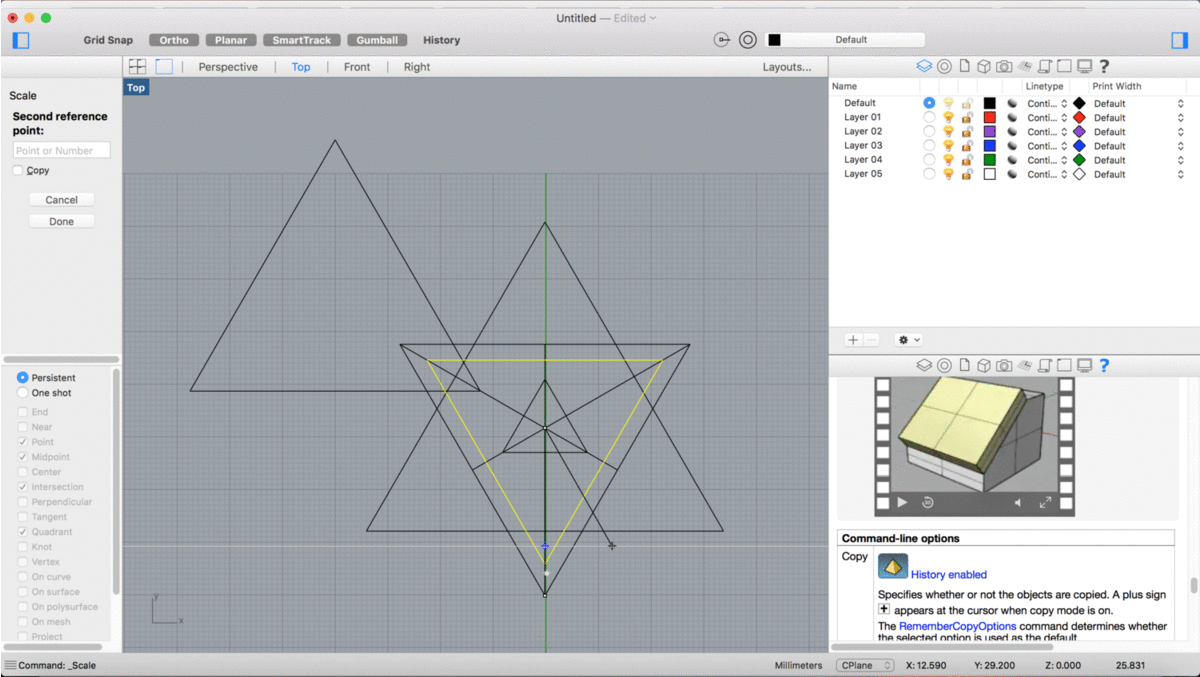
For the first iteration, I designed 3 variations on the theme of the interlocking triangles, with different size and positioning of the cuts so I could evaluate the design. The design was created on Rhino for Mac, a program I've been familiar with for a while.
I started by creating one triangle with the Polygon command, then I used Mirror to create another specular copy. Now I have a 6 point star, and I can start identifying where I want the cuts for the interlock.
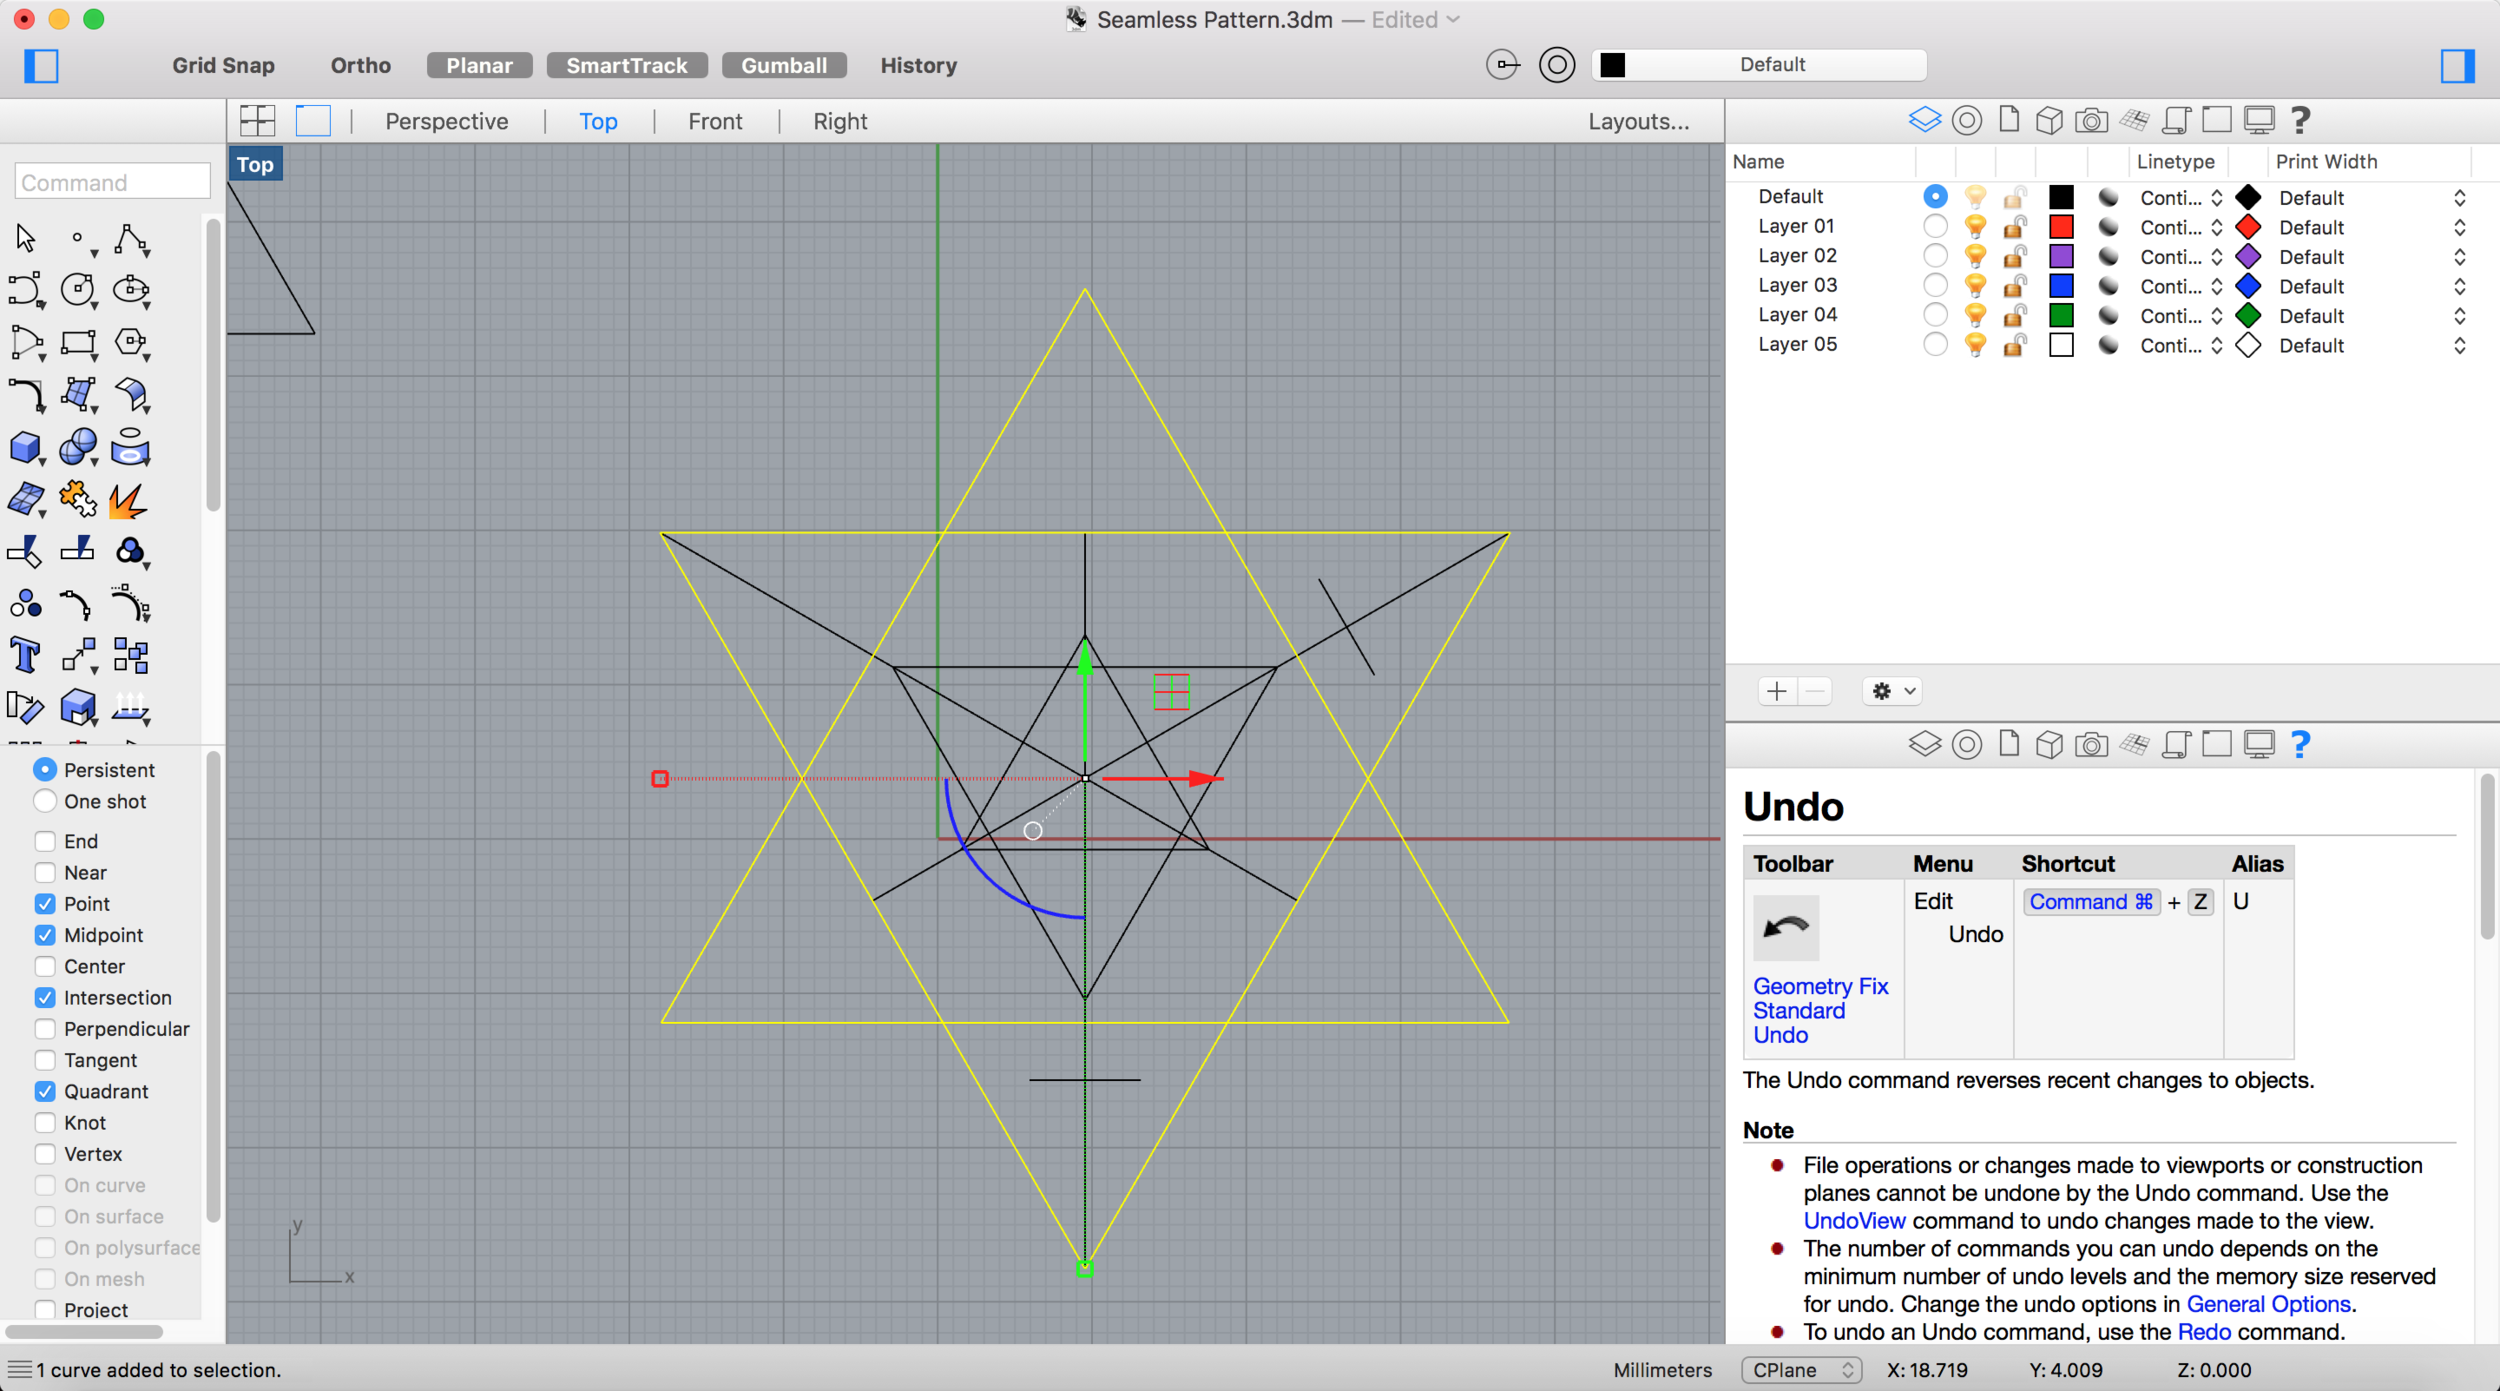
The two triangles superimposed create a hexagonal shape. I find this interesting and want to further explore this idea.
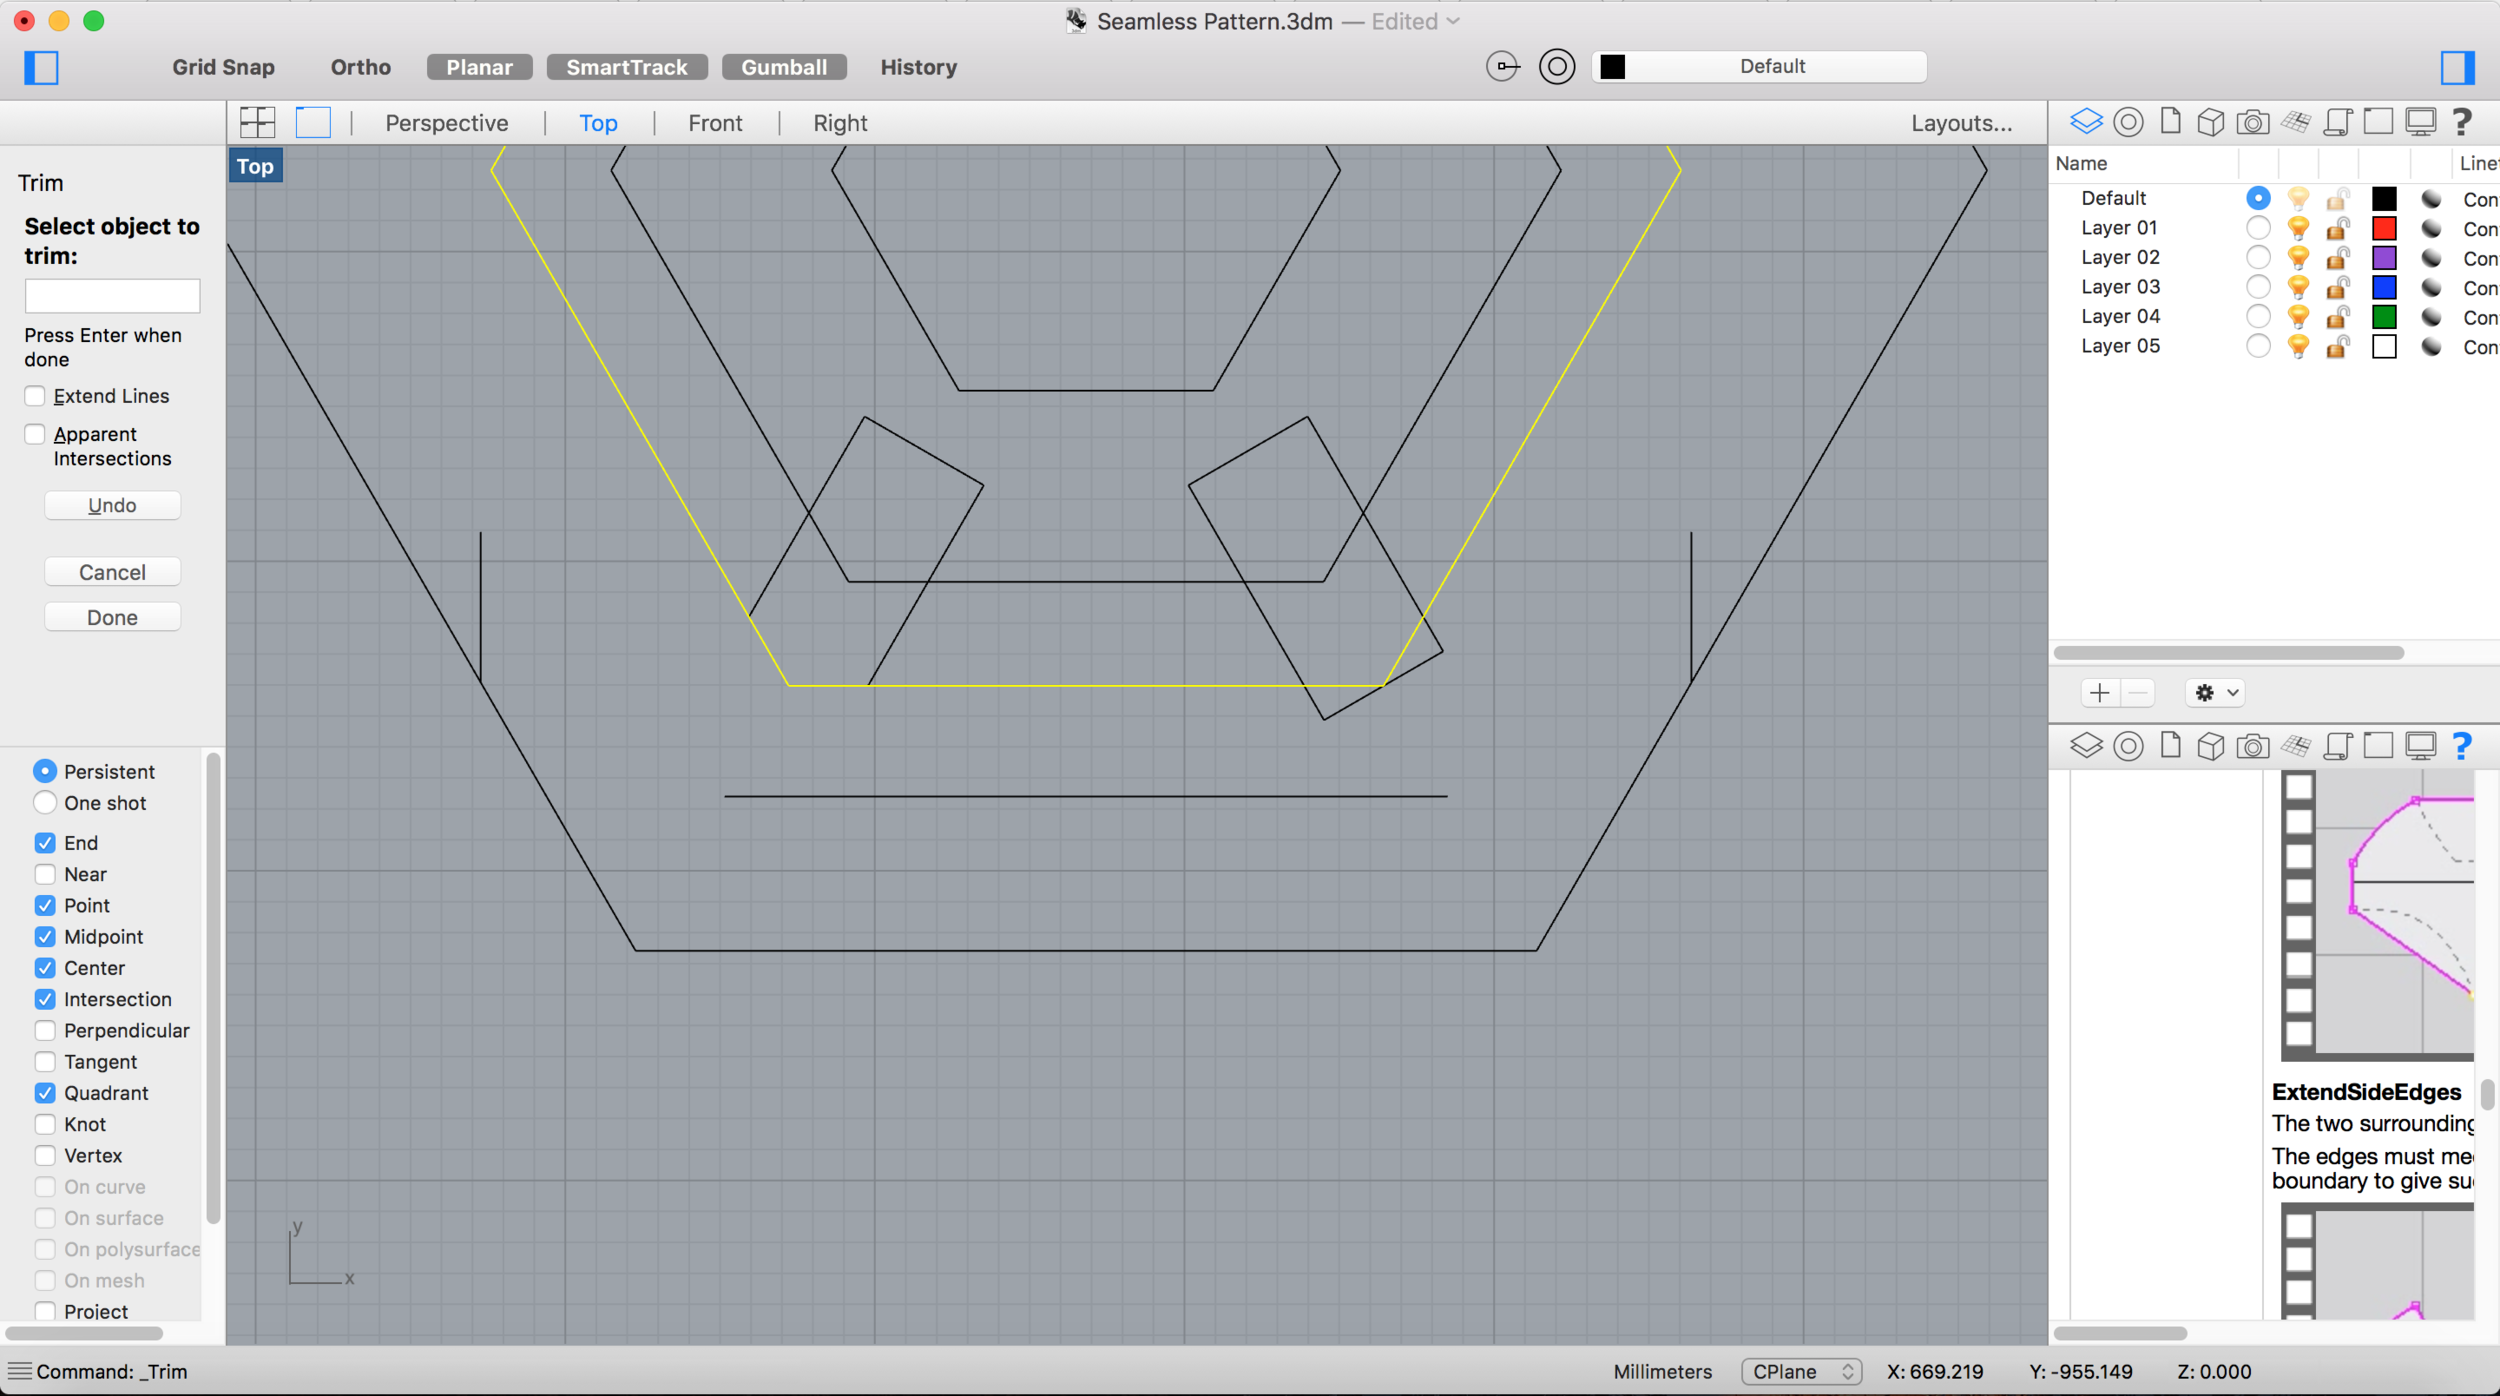
With the tool Trim I created the cuts for the triangle interlocks.
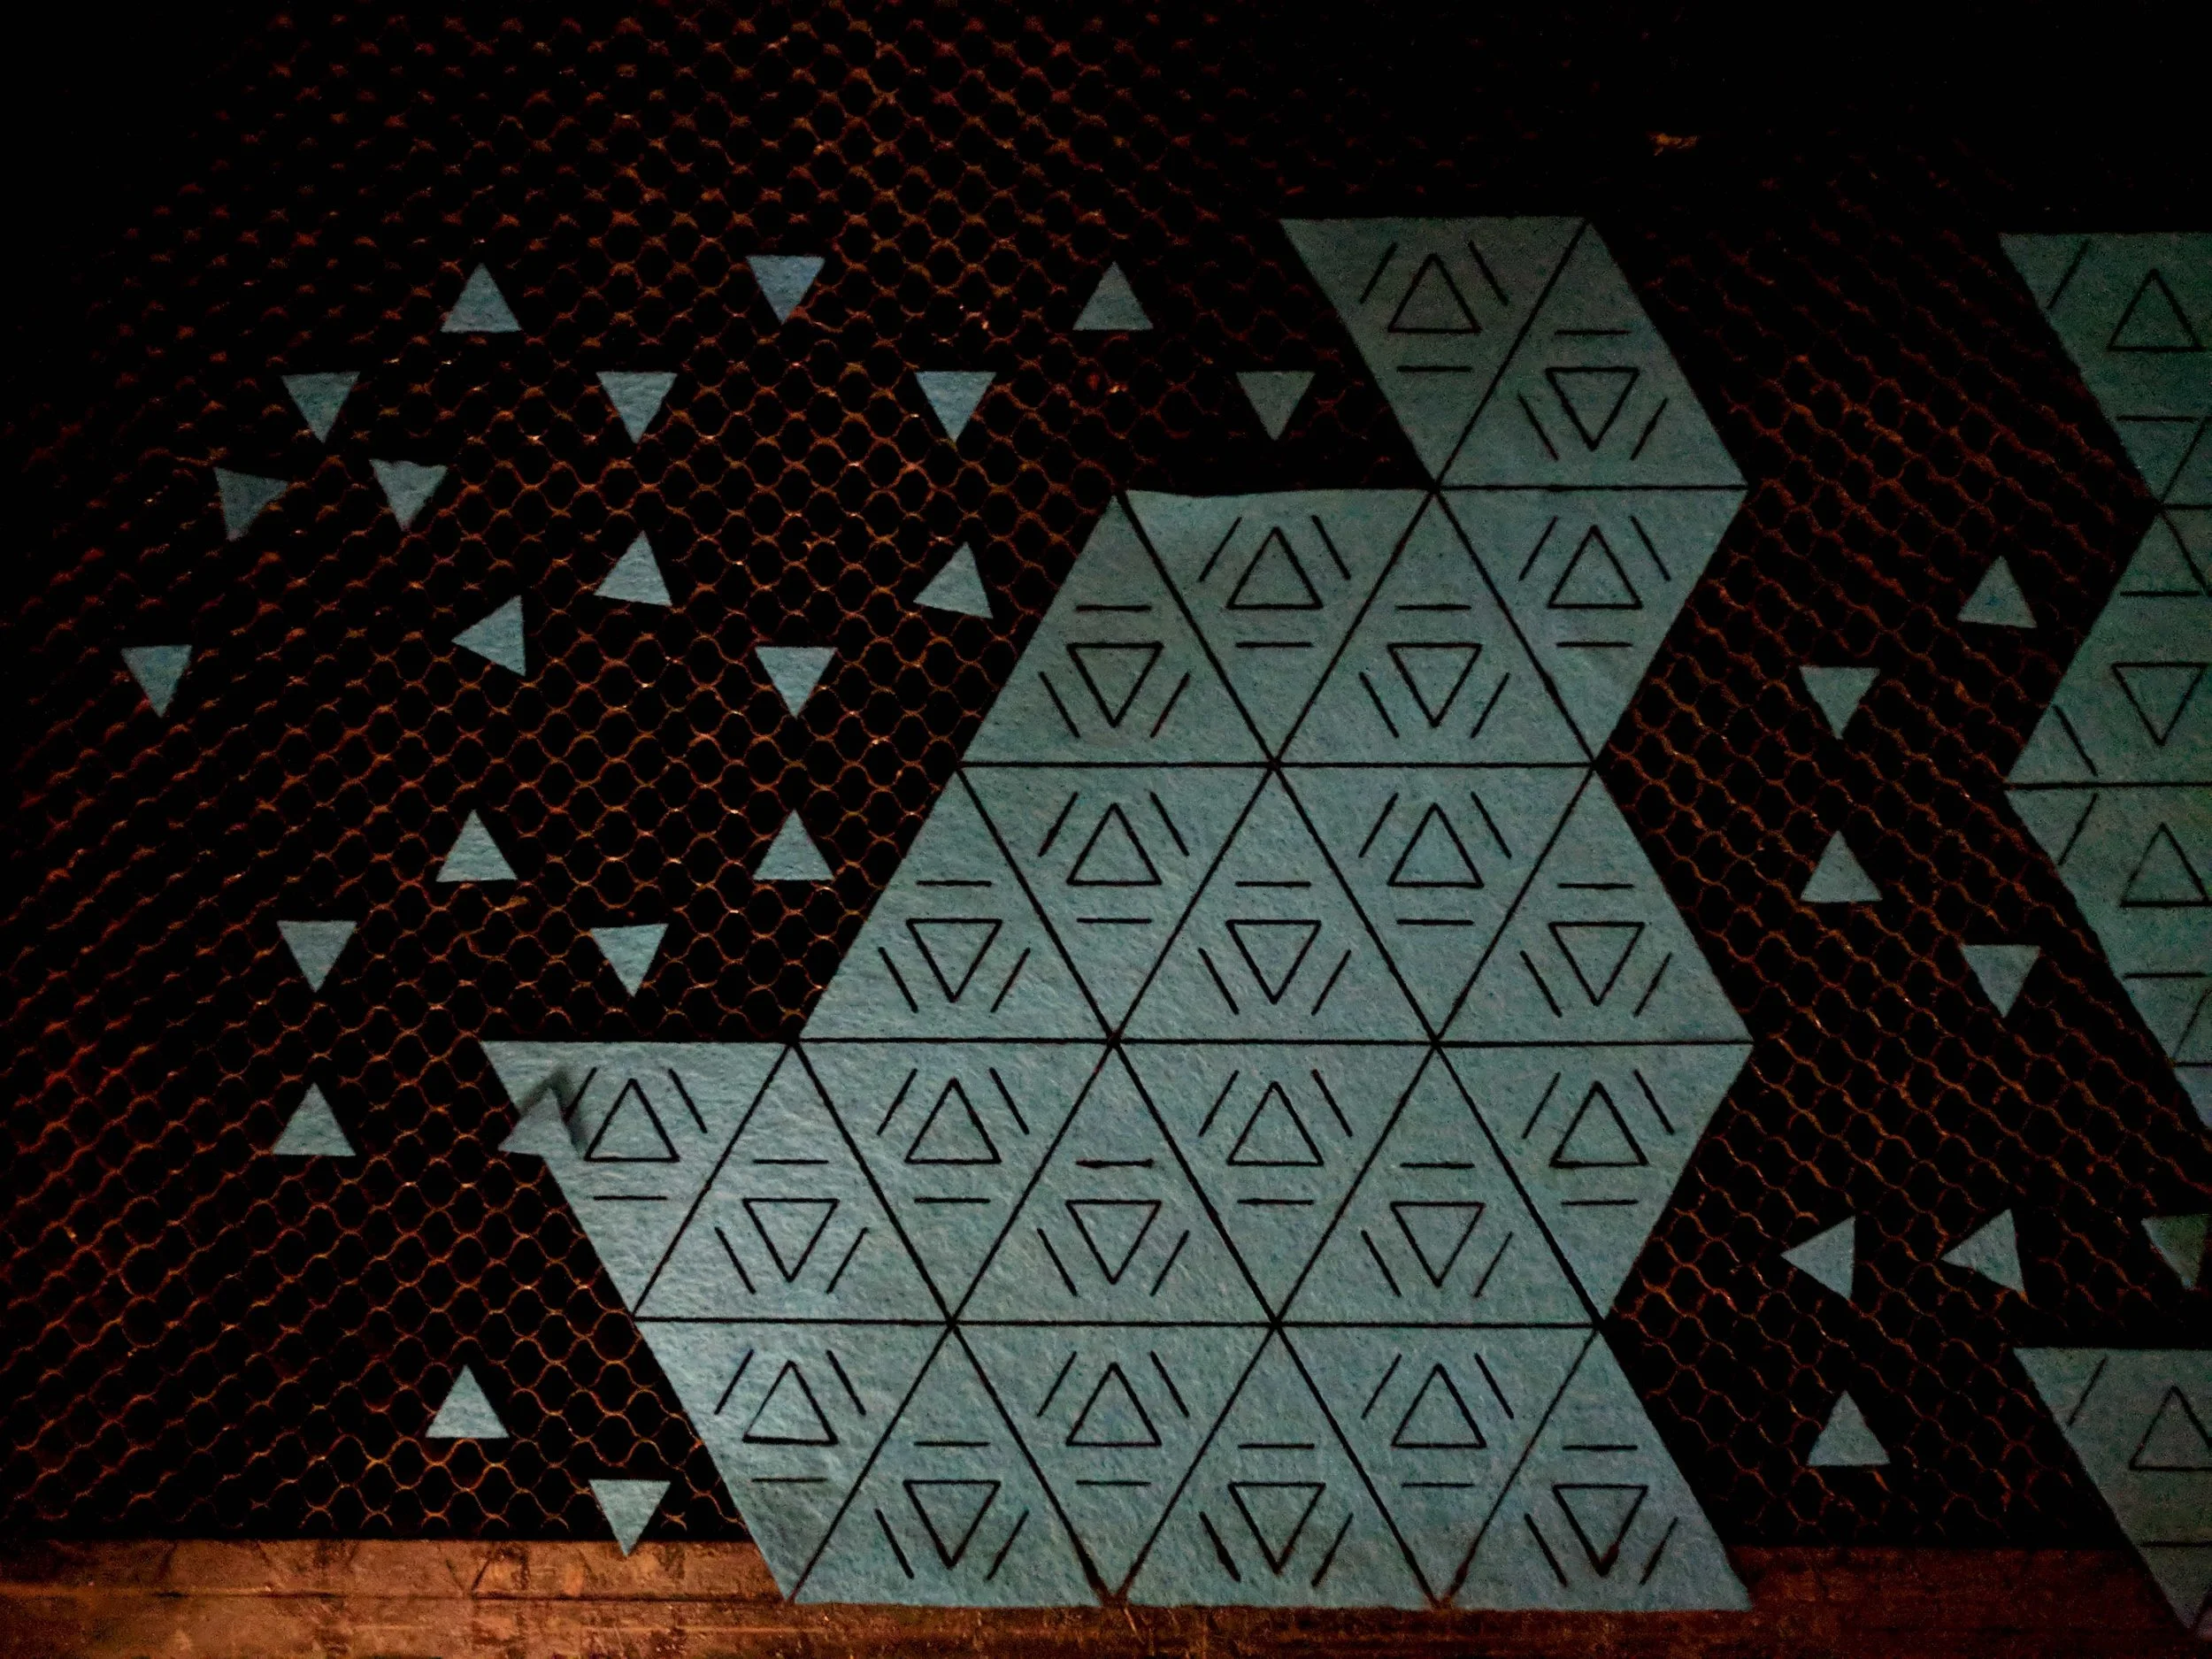
For decorative purposes and in line with the "celosias" inspiration, I added an internal triangle positioned upside down from the main one.

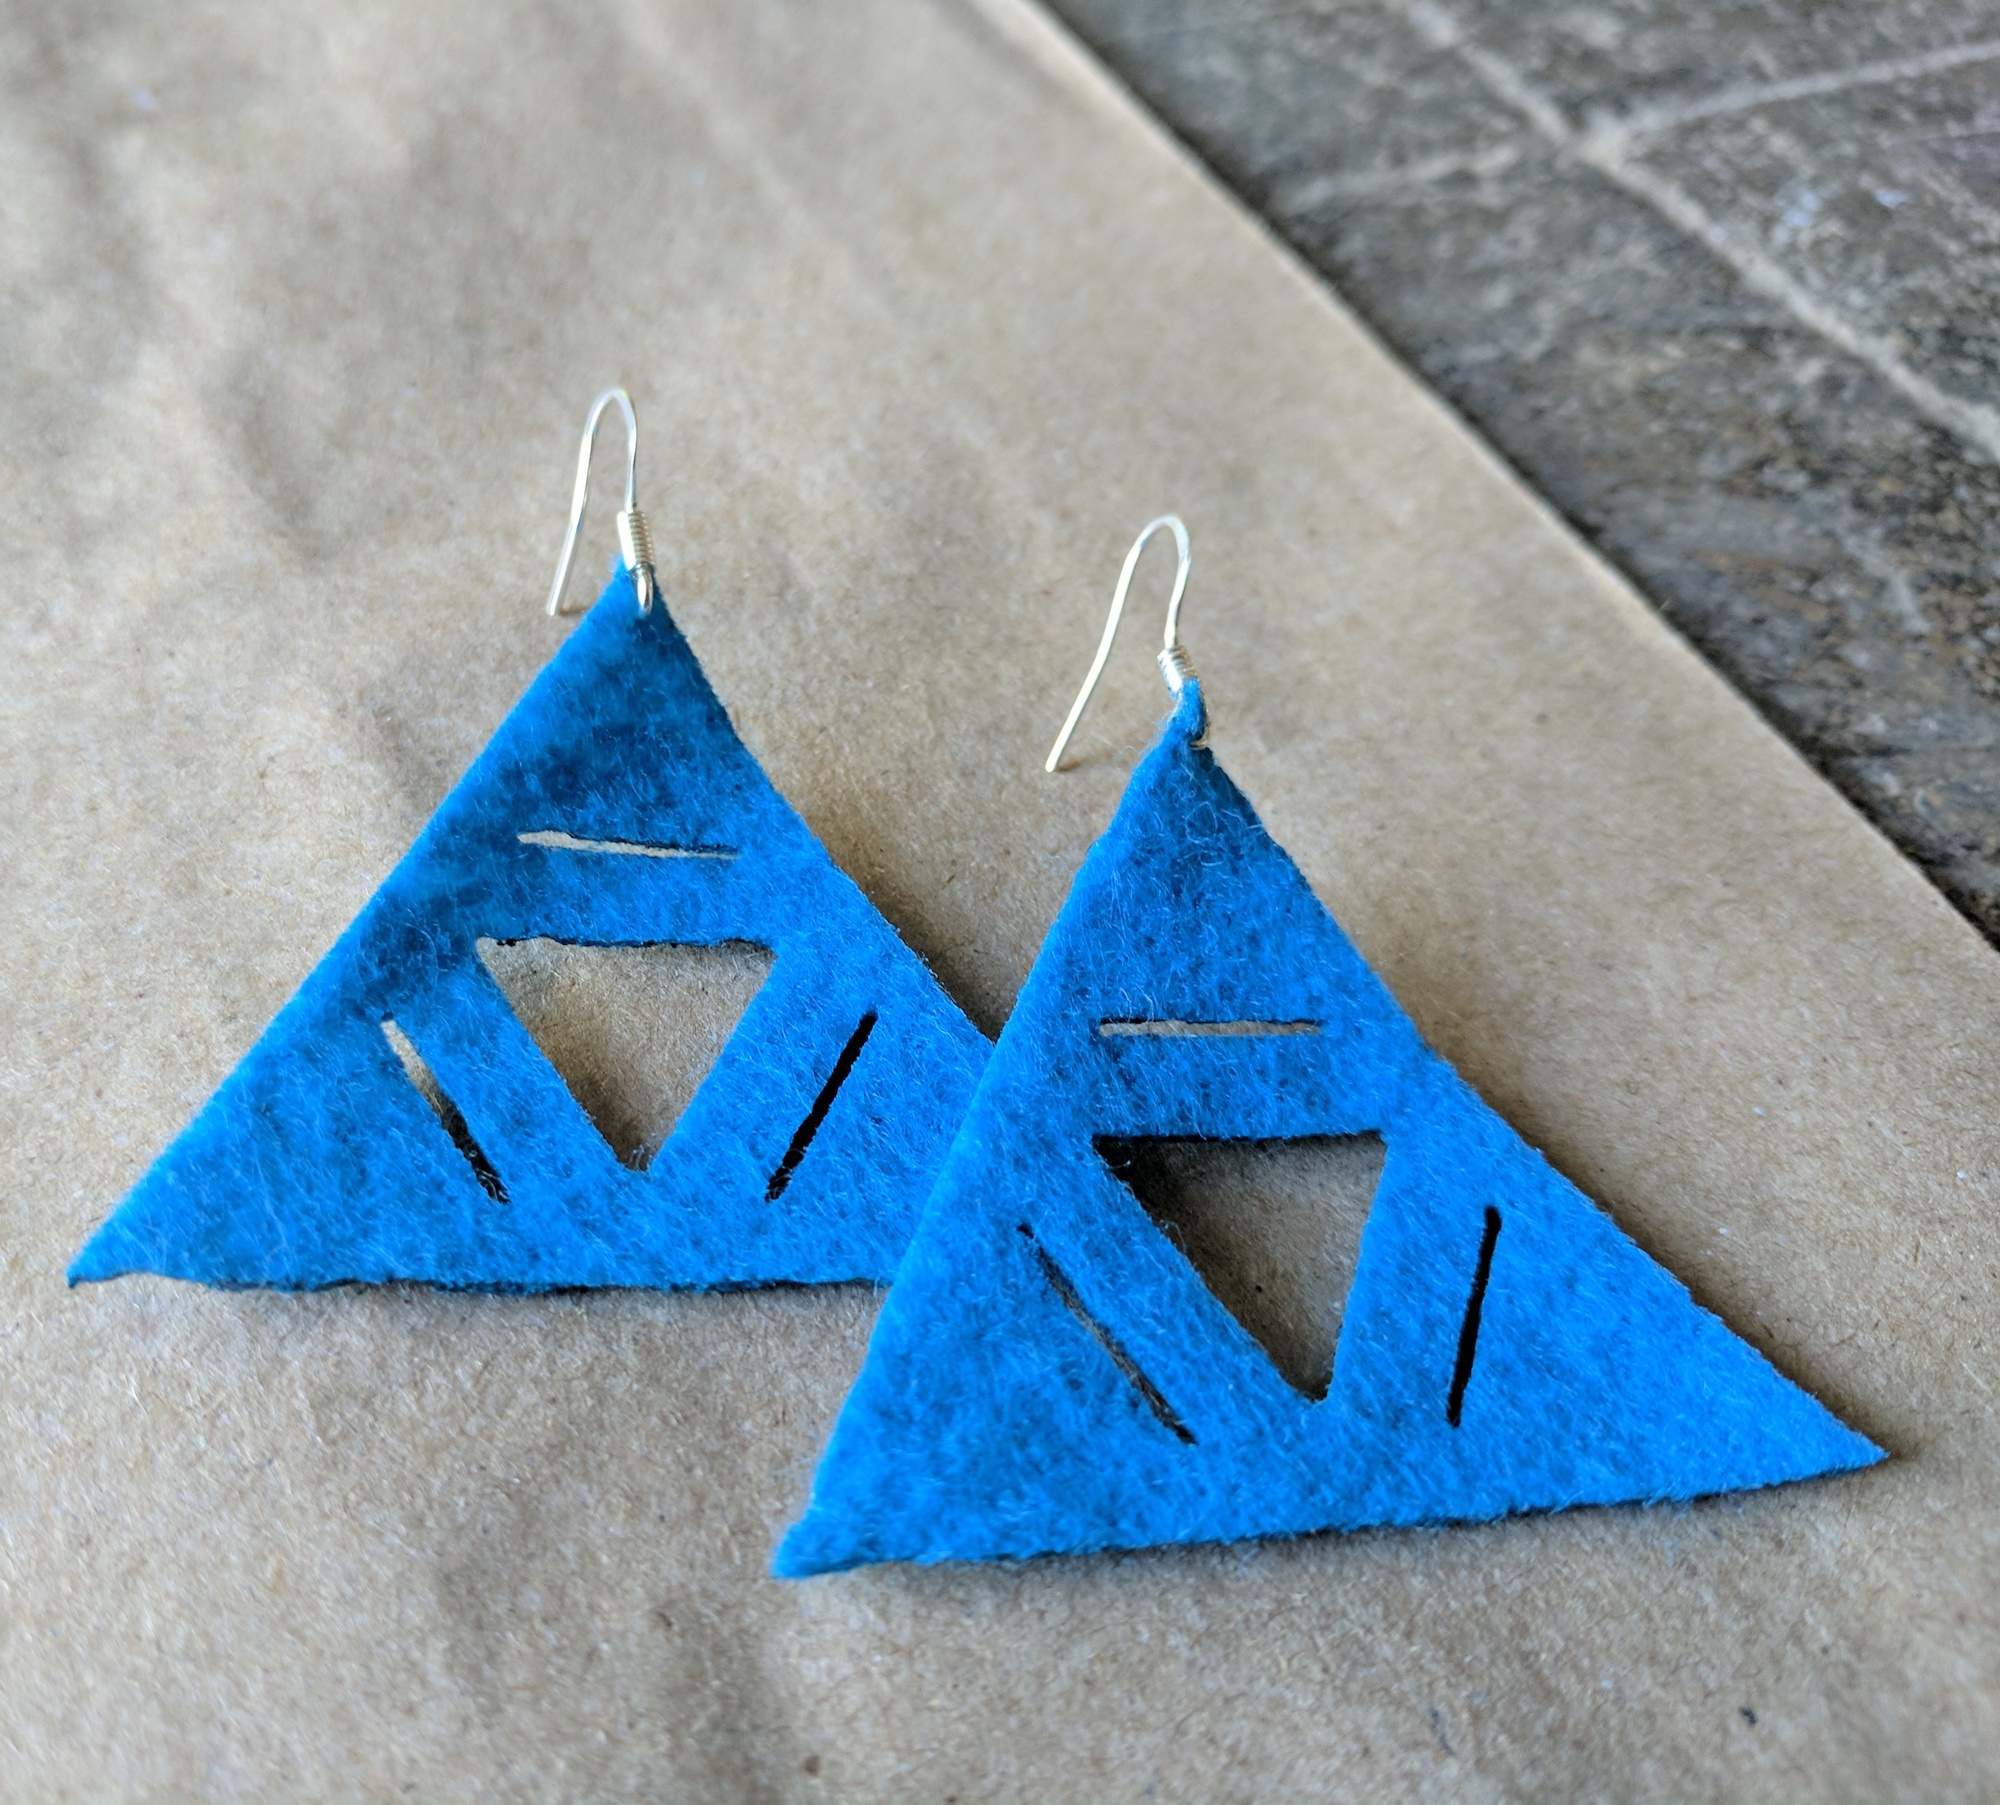
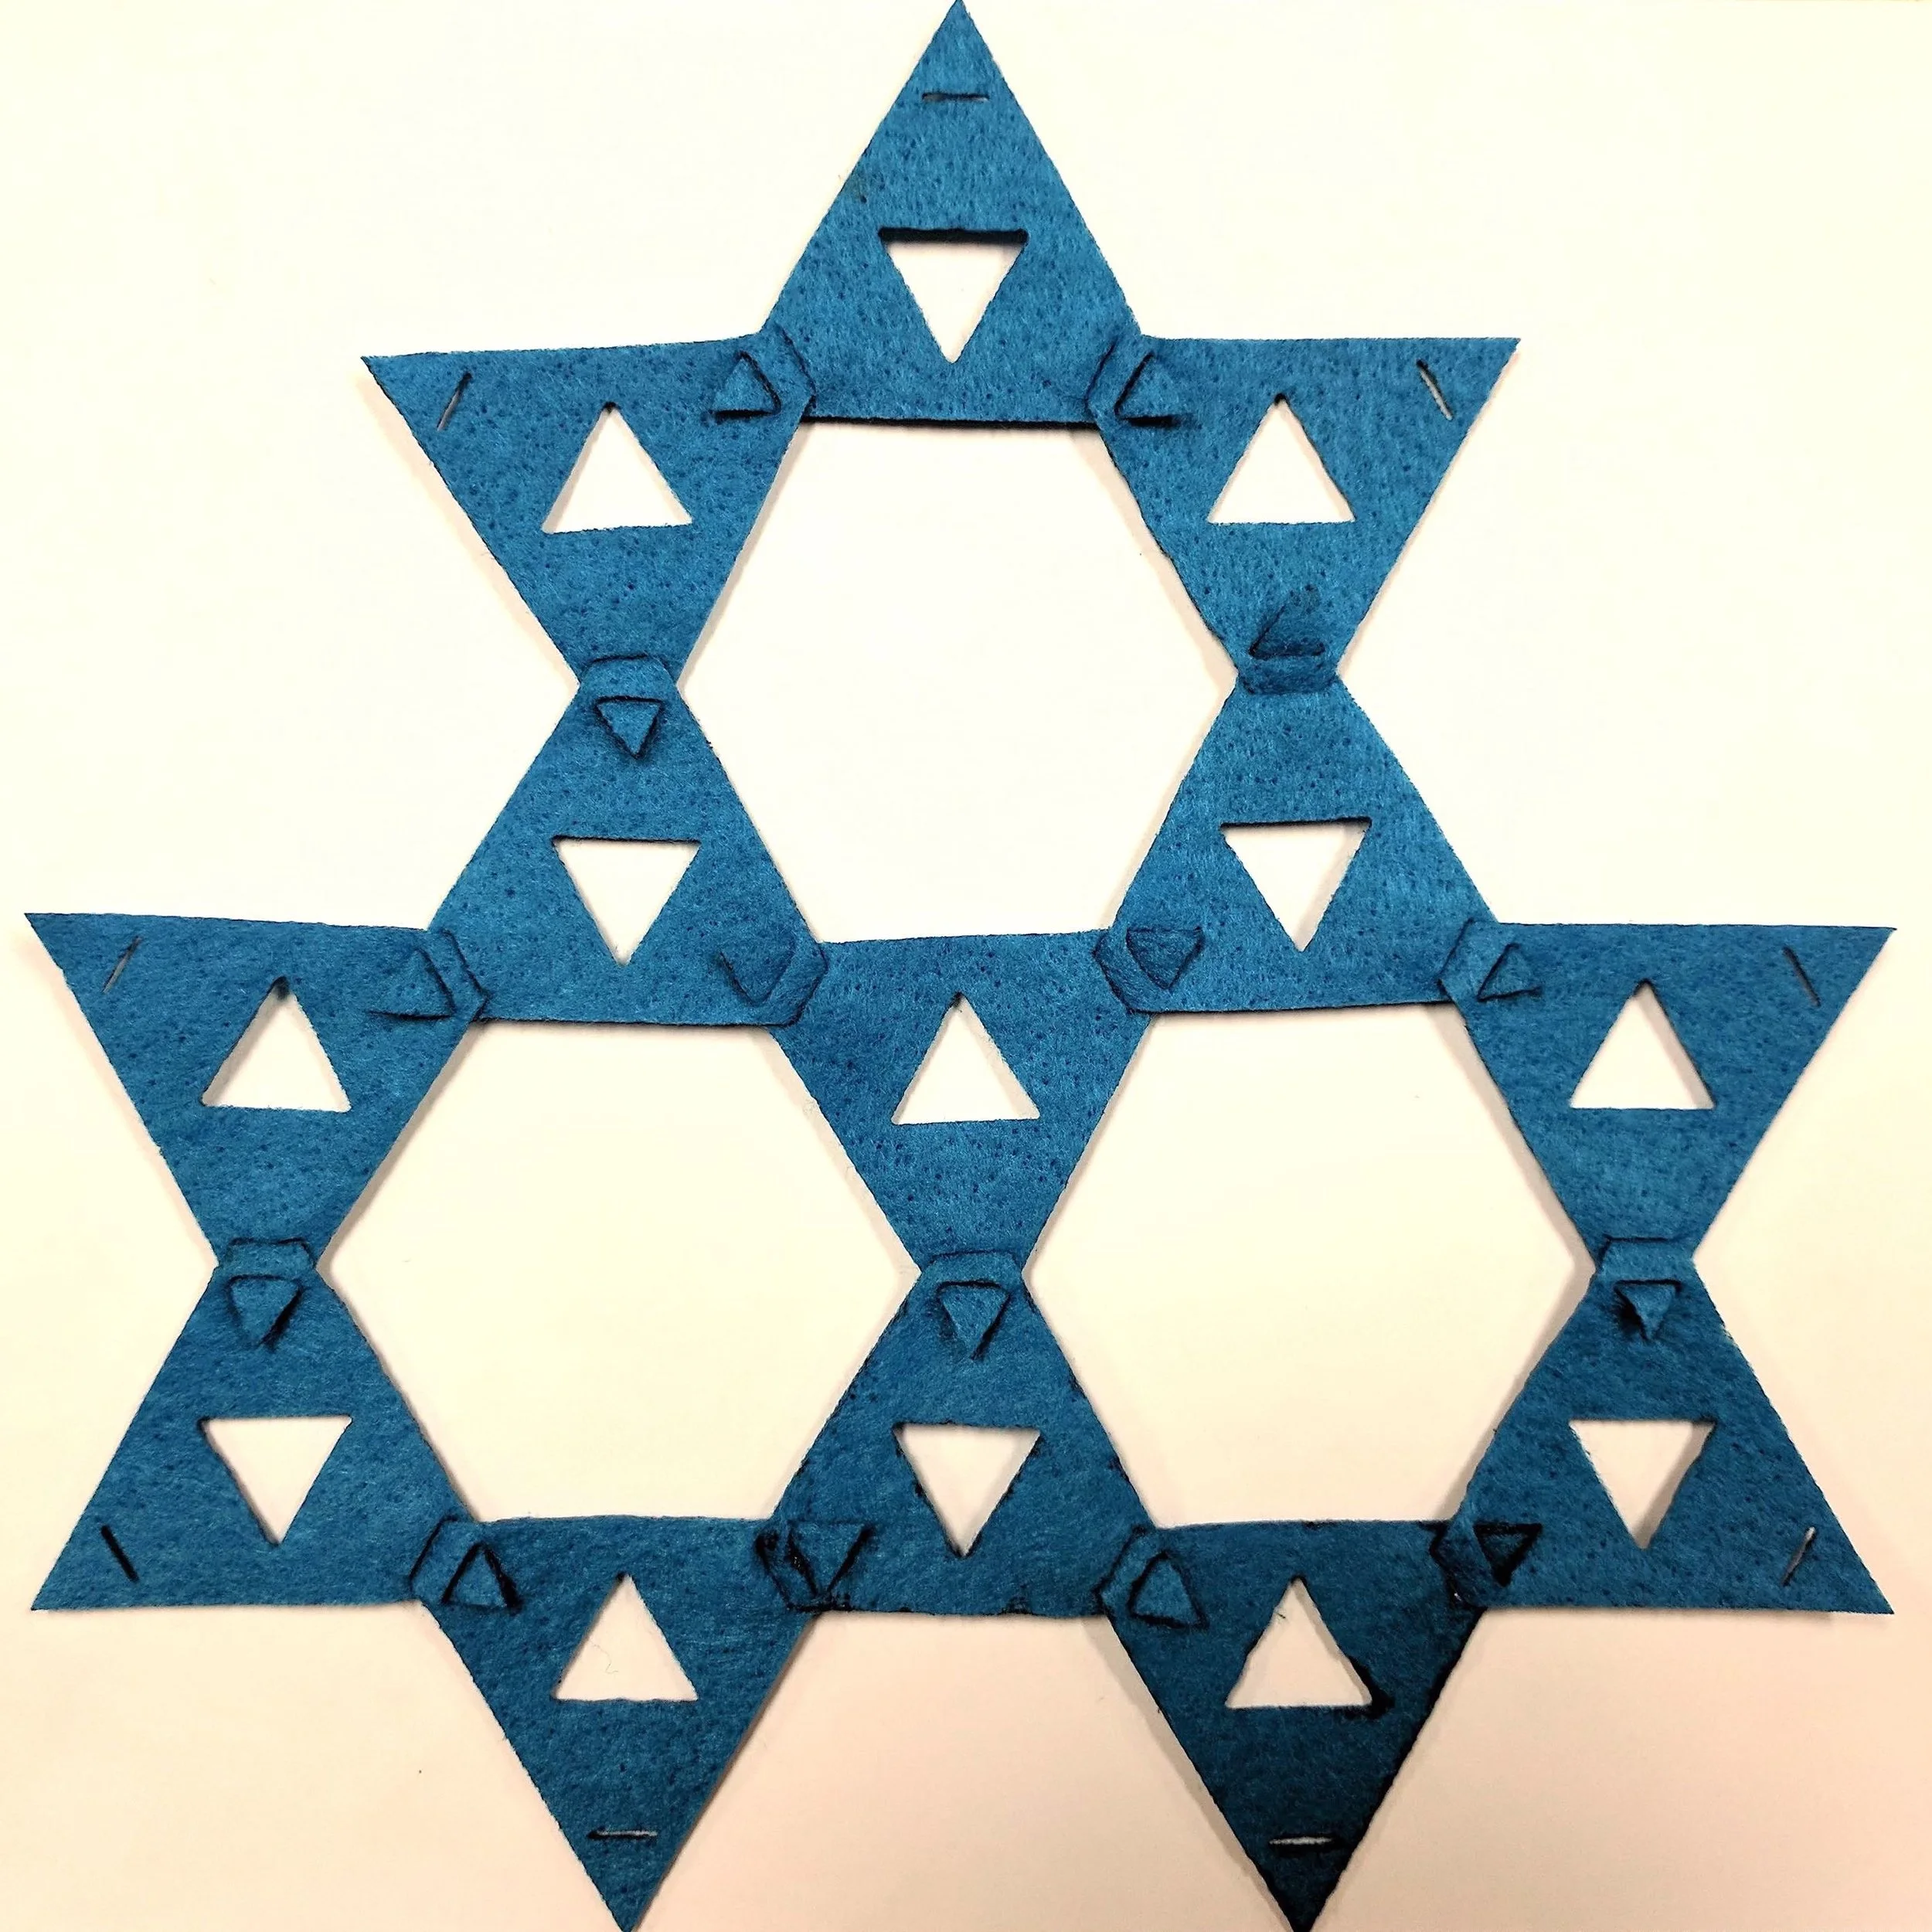
In the first iteration, I forgot to design the lines for the hinges, so I made some triangles without interlocking abilities. However they made some cute earrings :)

Anyway, with the triangular patterns I cut I could evaluate the design and, to some extent, the resistance of the cuts. Here is the final result of the 3 different designs: as you can see from the outcome, the first one creates quite a big opening in the middle of the triangles, the second one is quite balanced yet the cuts are too deep, and the third one is a bit cluttered.
The second design was considered to be the most visually appealing due to its balance between empty and filled space, so I decided to choose that. However the cuts vere too deep, causing the felt to break. Also I still had to put hinges in order to make the interlock stronger.


Iteration 2
Once I evaluated that the design n.2 was the most visually balanced of the 3, I decided to create the hinges deep enough to make this structure solid ad pull-resistant. I went about it by creating a sort of “arrow” shape at the points of the triangles, so I could slide them in and make it harder for people to remove them.

Now the triangular patterns have an arrow shaped hinge that is deeper and most importantly, it's drawn in 2D top view :)
The material used to cut the triangle seamless pattern is turquoise felt, about 1.5 mm thick.
The setting used in the laser cut are the following:
- Power: 12
- Speed: 35

In the left image we can see how the first iteration had cuts that were too deep, therefore too weak. In the second the hinges work better, but the interlock is not strong enough.
Iteration 3
I went back on Rhino and made the cuts with a longer interlocking arrow, allowing for a more stable fit. The trick is to not make them too long, which would make the interlock weak again, but on the opposite side. In the photo below, you can see the left arrow is the second iteration, with shorter arrow cuts, while the right arrow is the third one, with deeper cuts.

The stress test demonstrated that the interlocked pattern is more resistant than before :)
HEXAGONAL PATTERNS
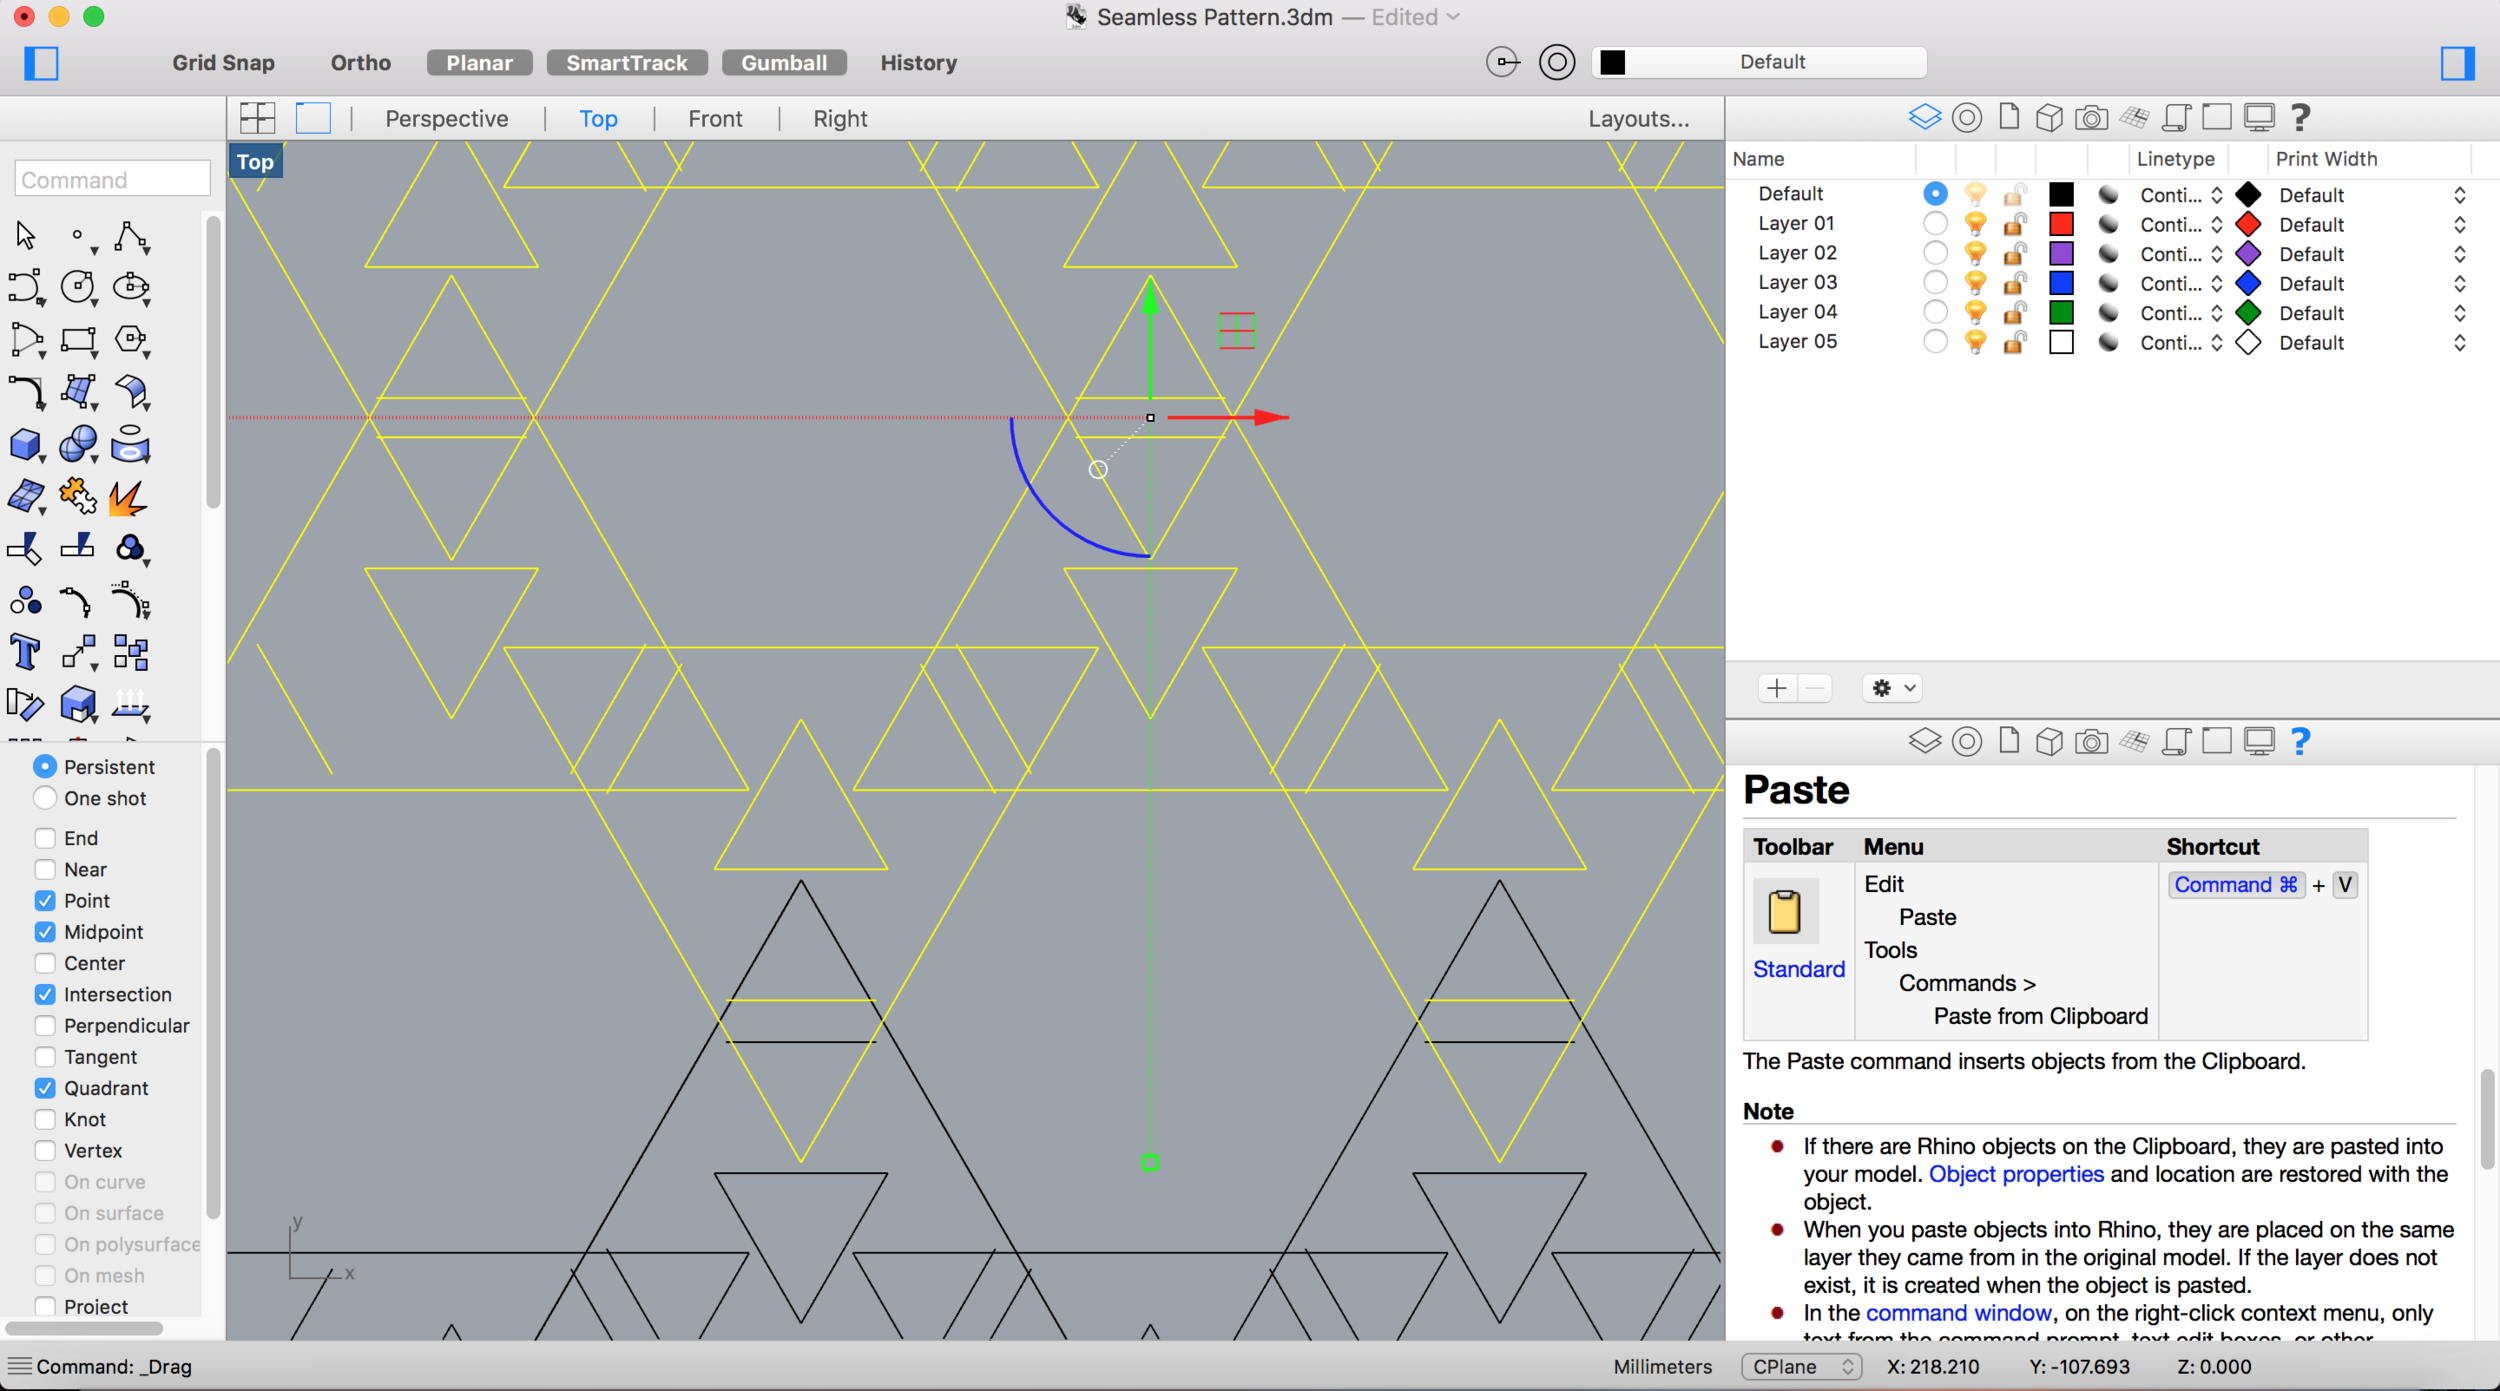
The next pattern I made is with hexagons. It was very fun to work with this shape after the triangles, as it's a multiple of the triangles but has quite different characteristics. With Rhino I created 3 different designs, so I could play with the concept of the “gelosia/celosia” again, balancing visible with invisible (in Italian, vedo-non vedo).
I made the hexagons starting from the command Polygon (with 6 edges) and created the designs inside using Scale, Trim, Join, Polyline.
Here is the construction of the most elaborate of the three designs.

Here is the most elaborate of the 3 designs I made.
Here is where I played with the pattern interlock design.
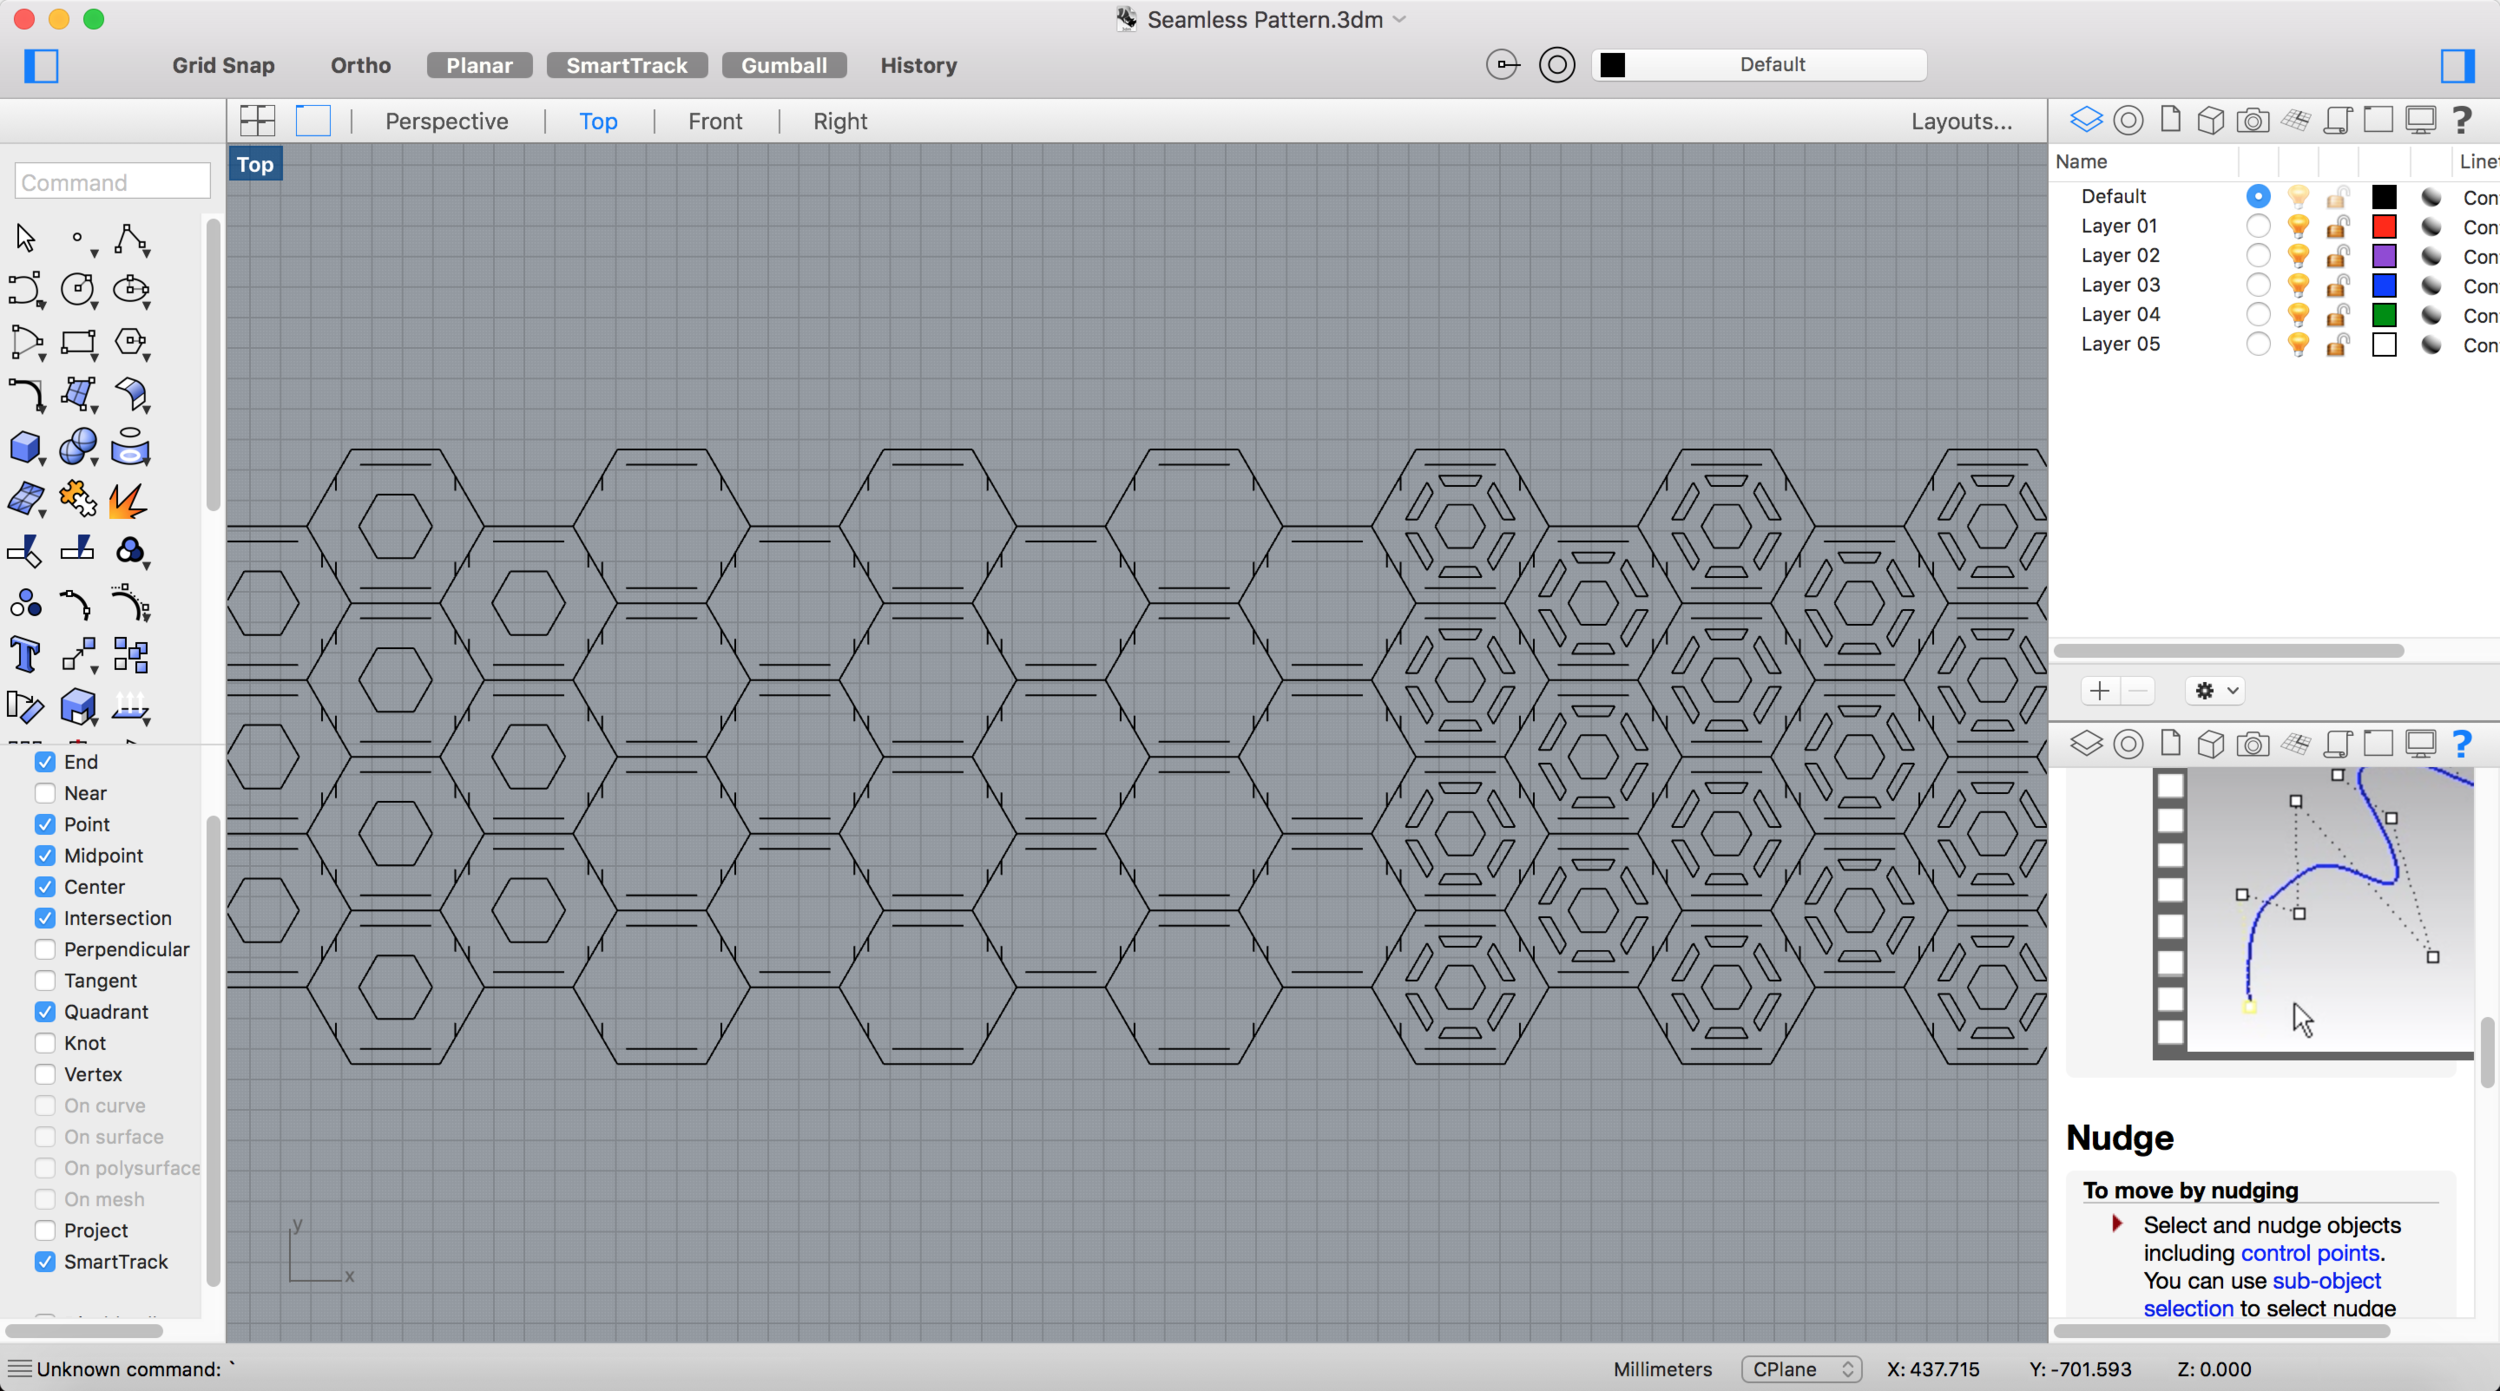
Here are all the 3 designs together, getting ready to laser cut.
When I proceeded to laser cut the patterns, I used the same settings that worked with the triangles:
- Material: felt 1.5 mm
- Speed: 12
- Power: 35
- Time: 20 min for the whole cut
However, something weird occurred, which I should have checked in detail in advance. The cuts for the interlocks were in the design and were exported in the dxf file, but they didn't come out when I laser cut them :(

ERROR !! MISSING CUTTING LINES - As I was making my cutting lines on my hexagons, I didn't realize that some of my lines were built on two different planes. What does that mean: it means that a line is NOT FLAT, therefore not in 2D, but 3D. This mistake resulted in my lines not being recognized by the laser cutter software, and my triangles had no hinges :( After troubleshooting with Oscar, thanks to his help I found out that the reason the lines for the cuts didn't come out was that they weren't flat on one plane. Because of how I designed them on Rhino, they had changed orientation on the y axis :S
I tried to add the lines and juxtapose the new file on the older one, which I hadn't moved. In an attempt to be 100% sustainable and avoid wasting material, I spent a bit too much time on this effort, with the following results…
Lesson learnt: ALWAYS DESIGN A 2D DRAWING ONLY IN ONE VIEW (i.e. Top View) and CHECK ON THE OTHER VIEWS IF THERE ARE ANY LINES POPPING UP (that means the drawing is not 2D and it must be corrected, as laser cutter software can't read 3D lines). I was happy to see the result though, and I used the patterns to make some cute earrings :)
After this attempt, I decided to pay a lot closer attention to my files in the future, in order to avoid time suckers. Also I learned about when it's more valuable to start over. Which currency is more important, time or material? This is a debate that always pushes me to attempt recycling things, at the expense of my time.
The patterns came out very nicely and have a lot of opportunity for designs of all kinds. However, the hinges are not as strong in these, so I will have to devise a way to make them more resistant.

Here are some applications for the patterns.

These are the concept boards for both the the hexagonal andtriangular patterns.
ITERATING THE TRIANGLES
I want to improve the resistance of the triangle interlock, so I am going to increase the size of the interlocking arrow. This will make the individual piece less elegant but the overall structure more resistant.
Here you can find the links to the source files.